Labels

General (3) Guidance (10) Pattern (10) Project (14) Tunisian (3)

Tuesday, September 23, 2014

Pear Shape Granny


This Pear Shape Granny can be applied to any type of crochet such as; bag, cloth, or combined with other crochet pattern., etc.

Level:
All levels

Finish Size:
From top to bottom is 16 cm; the main width is 11 cm


Material:
Crochet Cotton thread
Hook: 2/0
Gauge:
8 ch = 1 inch

Abbreviations used:
ch - chain
sl st - slip stitch
hdc - half double crochet
dc - double crochet
tr – treble
tog – together
sp - space

Cluster (Cl):
3 dc, ch 2, 3 dc

Simple Chart for this patter as below:


Pattern Note:
The size of the pear shape can be adjusted in accordance with the wishes and needs. 
In this pattern, to form the pear shape is used 3 rows back and forth technique in one part of round 3 work.

Pattern:
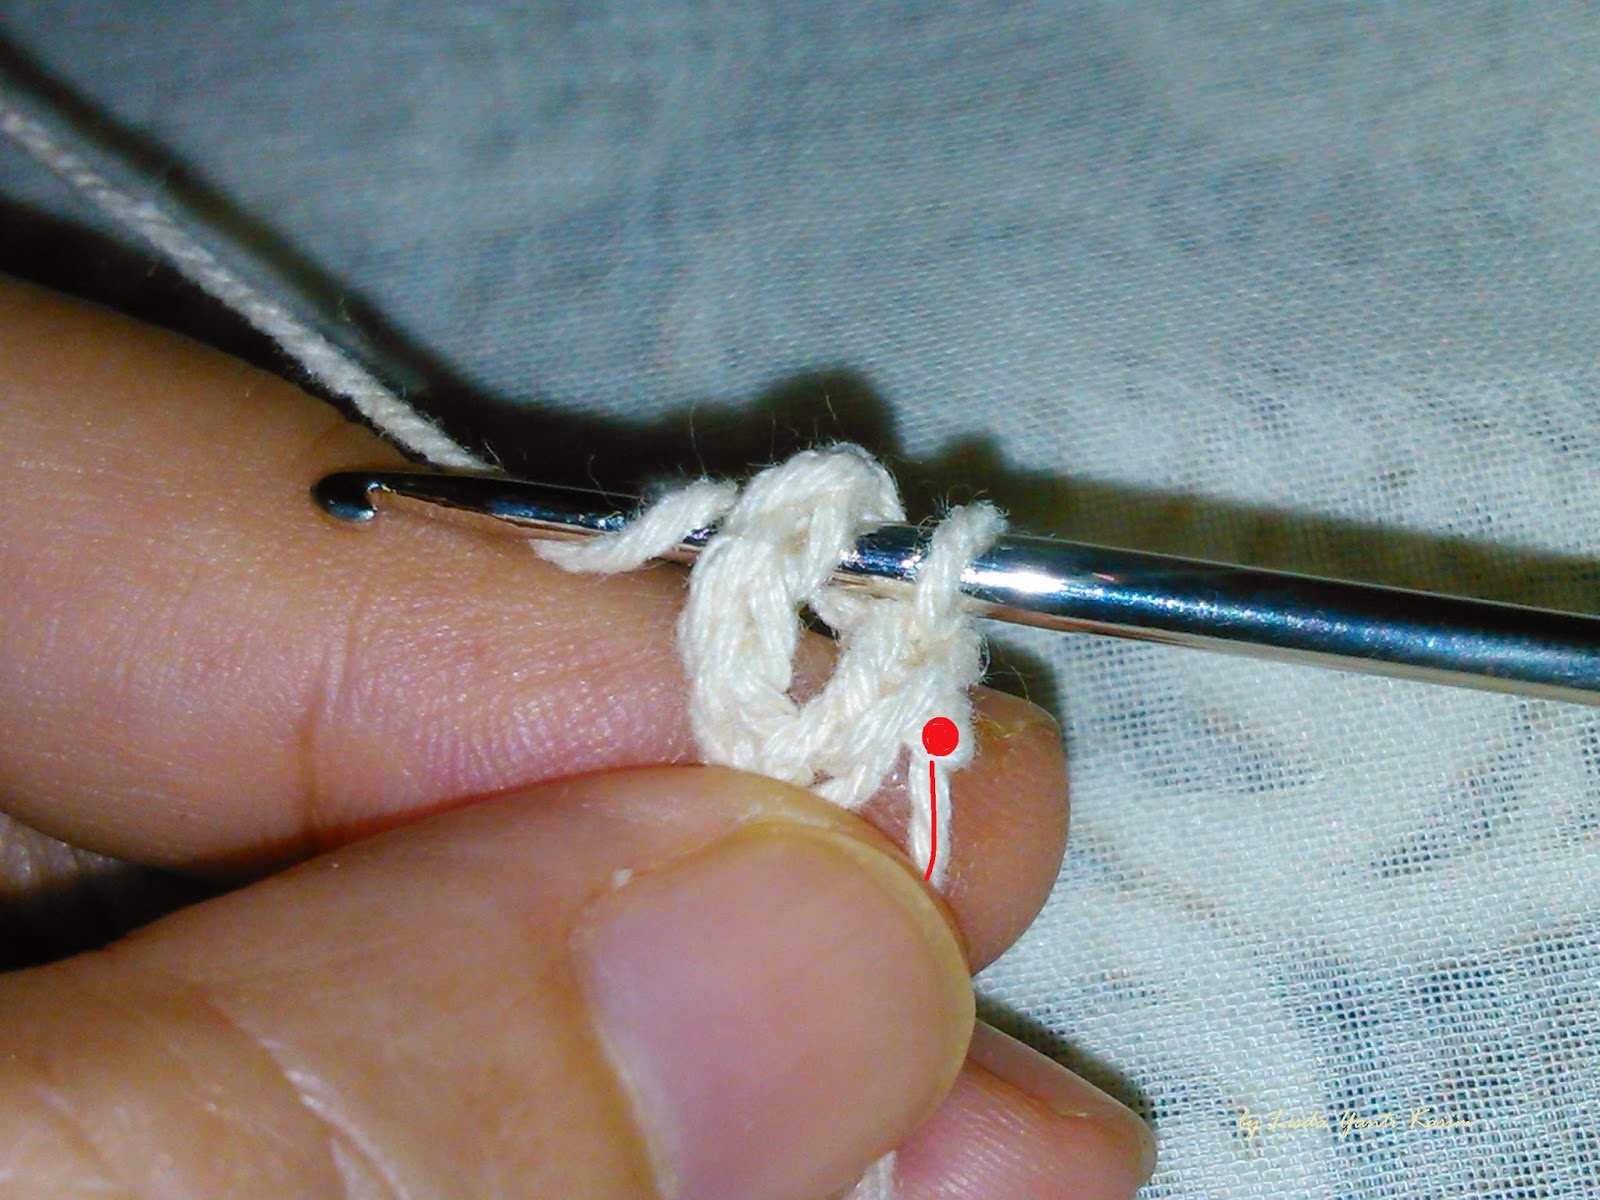
ch - 10, sl st in the 1st ch to form ring
Round 1Ch 3 (as the 1st dc), 2 dc in the ring, (ch 2, 3 dc in the ring) 7 times, hdc to join to top of ch 3

Round 2 - Ch 3, 2 dc in hdc sp, (ch 3, 3 dc in next ch 2 sp) 7 times, ch 1, hdc to join to top of ch 3


Round 3 - Ch 3, 2 dc in hdc sp, 3 dc in next ch 3 sp (the 1st ch 3 sp), ch 5, turn,
Row 4 - 1 dc in the top of ch 3, ch 3, turn,
Row 5 - 2 dc in ch 5 sp, ch 2 turn,
Row 6 - 1 dc in the top of ch 3, turn to right side

Ch 3, 2 dc in ch 2 sp, ch 2, 3 dc in the ch 5 sp, ch 2, 3 dc in the 1st ch 3 space of round 2, (ch 2, Cl in next ch 3 sp) 6 times, ch 2, 3 dc in the last ch 3 sp of round 2, ch 2, 3 dc in the dc sp of row 4, ch 2, 3 dc in the dc sp of row 6, ch 2,  work tog 1 tr (in dc sp of row 6) and 1 dc (in the top  of ch 3)

Round 4 - Ch 3, 2 dc in dc sp, (ch 2, 3 dc in next ch 2 sp) 18 times, work tog 1 tr (in tr below) and 1 dc (in the top of ch 3)

Round 5 - Ch 3, 2 dc in dc sp, (ch 2, 3 dc in next ch 2 sp) 6 times, (ch 3, 3 dc in the next ch 2 sp, ch 2, 3 dc in the next ch 2 sp) 3 times, ch 3, (3 dc in next ch 2 sp, ch 2) 6 times, 3 dc in next ch 2 sp, ch 2,  work tog 1 tr (in tr below) and 1 dc (in the top of ch 3)

Round 6 - Ch 3, 2 dc in dc sp, (ch 2, 3 dc in next 2 ch sp) 6 times, (ch 2, Cl in next ch 3 sp, ch 2, 3 dc  in next ch 2 sp) 4 times,  (ch 2, 3 dc in next ch 2 sp) 6 times,  work tog 1 tr (in tr below) and 1 dc (in the top of 3 ch), fasten off 


You can find the PDF file for this pattern for free in here.

Monday, September 22, 2014

Crochet - How to hide slip knot in a circle pattern?

Assalamu ‘alaikum wa rahmatullahi wa barakatuh
 السلام عليكم ورحمة الله وبركاته 
(May the peace, mercy, and blessings of Allah be upon you)

When the first time I learn to crochet, I had difficult time to make nice circle in the center of circle pattern after I complete round 1 and I also had hard time to hide the slip knot. After several times trial and error, I had figured out to solve my problem, well at least much much better.

I will share here how I hide the slip knot and create nearly perfect circle in the center of circle work.

I will show step by step process in several images of my way and also the opposite way to compare.

Before we go further, for a beginner needs to know what is slip knot

I will use a simple pattern here to show how to hide the slip knot, ( you can use your own pattern to follow this method):

Abbreviation:
sl st - slip stitch
ch - chain
sc - single crochet
lp - loop
yo - yarn over
sp - space

Ch 6 - sl st into first ch to form ring

Round 1 - ch 1, 12 sc into ring sp,  (continue to follow pattern used for the next round)

First I will show my way:


After form a circle, place the sl knot & tail of thread to the left side (in front) of hook,


now we start to make first sc; in making 1st sc, try as close as possible to the first ch after sl st and also try as tight as possible but not too tight, so we still can; yo, pull through 2 lp to complete sc,

before we make second sc, look at space between slip knot and first sc. If still have enough room for next sc; make next sc as close as possible to first sc and as tight as possible,


if the slip knot has not covered yet by second sc, repeat the above step for third sc,


after slip knot hidden keep the remain tail around the circle, continue to make next sc as usual while hiding tail in sc  until all 12 sc complete, sl st into first ch to joint.


The opposite way:


After form circle, place sl knot & tail of thread to the right side (back) of hook,


start to make sc,


after make 2 sc, place the tail of thread around the circle (if you work in bigger circle, you will need to make several more sc till you can reach the tail of thread), and the continue to make next sc while hiding the tail in sc until 12 sc complete, sl st into  1st ch to joint sc.

Below images are the font and back side of final round 1 for both ways to show the different:


The differences  between both ways are:

  • The circle in my way is almost round while in the opposite way kind of oval shape.
  • The size all of sc around the circle in my way about the same size even the one above slip knot, while in the opposite way; sc above slip knot little bit bigger than other sc around the circle.
  • The appearance at the front side for both way look similar, but at the back side in my way look more neat than the opposite way.
  • In the opposite way; sometimes we still need to trim the end of tail that still appear in between sc, meanwhile we do not have to do that in my way because all tail covered automatically when we make sc unless if we let the tail a lot longer than the circle.
Hope this help !
Selamat mencoba ... :)

Crochet - How to insert new thread/yarn invisibly in the middle of work?

Assalamu ‘alaikum wa rahmatullahi wa barakatuh : السلام عليكم ورحمة الله وبركاته 
(May the peace, mercy, and blessings of Allah be upon you)

I know there are many ways to insert new thread when we run out of thread in the middle of work. I believe  each person has her/his own way to do that, or follow some existing theory .

I would like to share how I insert new thread/yarn invisibly in the middle of Crochet work. In this method I do not tie the thread, because I do not  like to form knot and I do not know how to hide the knot between st. I consider this method work perfect in sc, dc and in other type of st except ch. Well actually this way still can be applied in ch but not as invisible as in other st.

Please see the following images to show step by step process. In this example I work in sc:

Note: To differentiate between old and new thread; I mark the old thread with blue line and the new one with red line


In this image show the work about running out of thread (about 1 - 2 inches remain - for work in dc better let longer end remain). Make last sc only half way; after the first yo, pull through 2 lp to secure stitch.


Insert hook into 2 lp of the half way sc and then get new thread,


 yo at new thread, pull through 2 lp (consider this as second yo to complete last sc of old thread), 


Now, the position of hook already in new thread,

the end of old thread is on right side (back side) of hook, while the end of new one is on opposite side (in front of hook).


Turn around end of old thread, the position will be parallel with end of new thread,

insert hook into next st to make next sc with new thread (please refer to pattern for next step). The position of 2 end threads should be above hook while; yo,  pull up lp, yo, pull through 2 lp,

first new sc with new thread now complete.


Continue with next step of pattern, in this sample still; 1 sc into next st
After crochet 5 sc, all end of threads covered. In these 2 images showing front and back side. 
- From front side; you cannot see connection of old and new thread (unless if you use different colors of thread). 
- From the back side; only very small bump shown at the last sc of old thread.

After crochet few rows, the connection of old and new thread become more invisible.

Selamat mencoba!!