السلام عليكم ورحمة الله وبركاته
(May the peace, mercy, and blessings of Allah be upon you)
 |
| The Special Kembang Sepatu |
Kembang Sepatu is the name we call in Indonesian language for Hibiscus.
Why I call this crocheted Hibiscus "The Special Kembang Sepatu"?
It is because:
1. Today's date is the date when I was born 54 years ago. It used to be very special date to me, if no one remembered it, I was kind of sad and up set. Nowadays, not so special any more, well it is still the date of my birth, no one can change that, however I wouldn't be up set or sad anymore if no one remember. It is because, actually in Islam we don't celebrate a birthday
2. This kind of flower was the first time came out of my mind when I wanted to design a Tunisian Crochet pattern. It is rarely someone to make this flower in crochet, so I could make sure that the pattern was originally my own design. The pattern can be found in Ravelry: Kembang Sepatu in Tunisian Crochet
3. Today is the first time I can make a crocheted flower complete pattern in a day including crochet the flower itself. I can make the diagram pattern fast using the Crochet Charts Application.
I am happy to share the pattern here.
 |
| Hibiscus flower pattern |
 |
| Calyx Pattern |
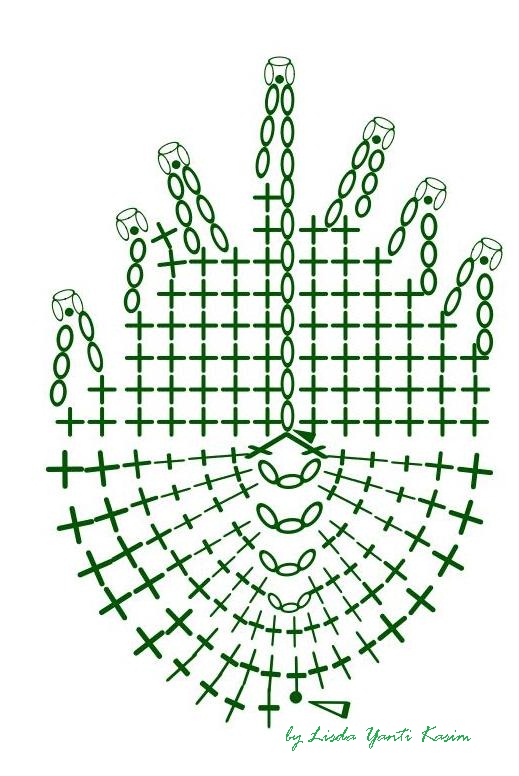 |
| Leaf pattern |
 |
| Pistil Pattern |
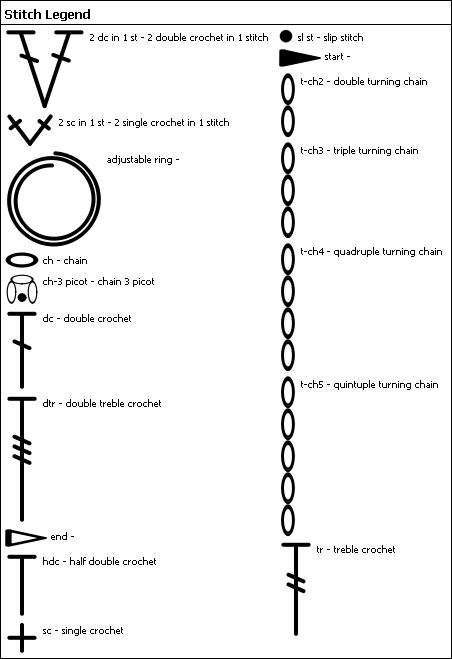 |
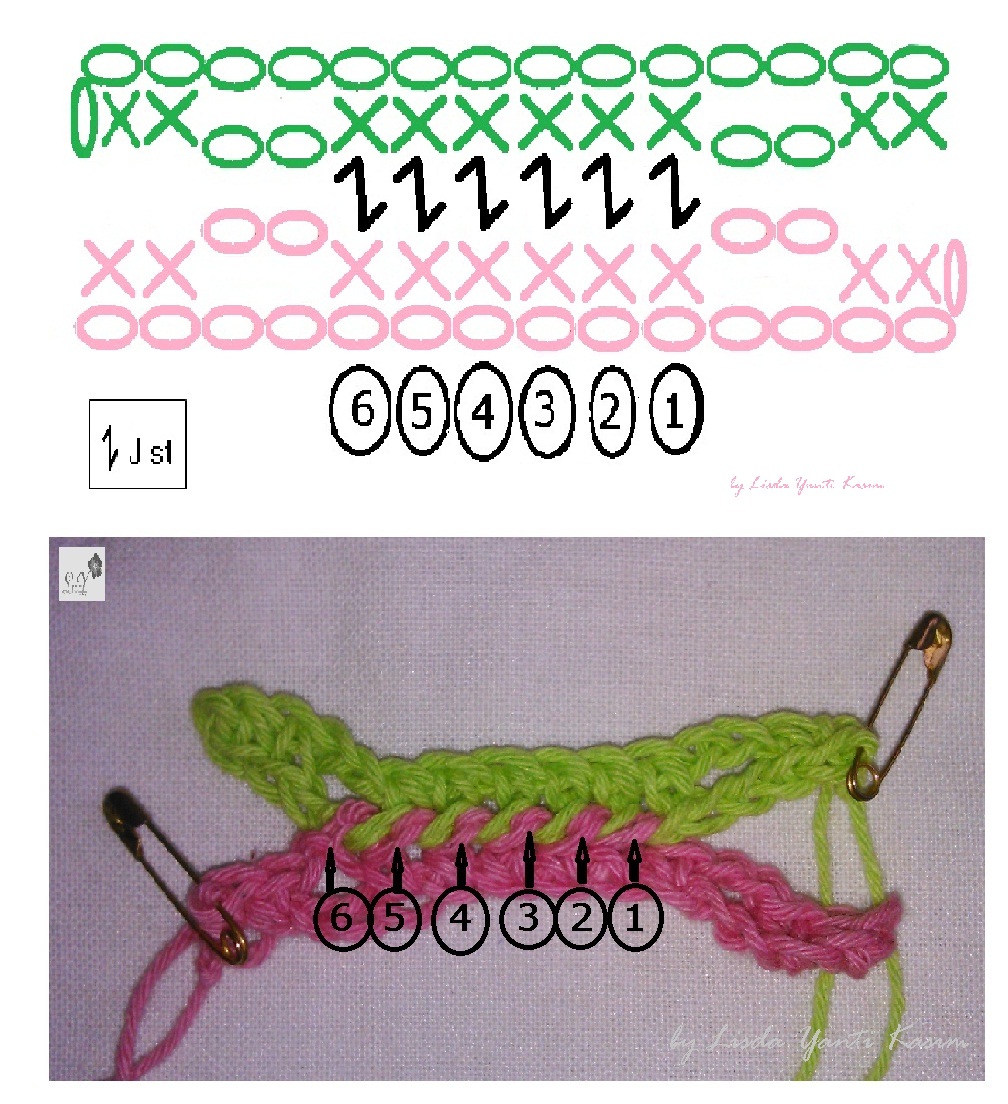
| Stitches Library |
Diameter approximately 8 cm
Material:
- Any kind of crochet cotton thread or polyester
Hook: 2/0
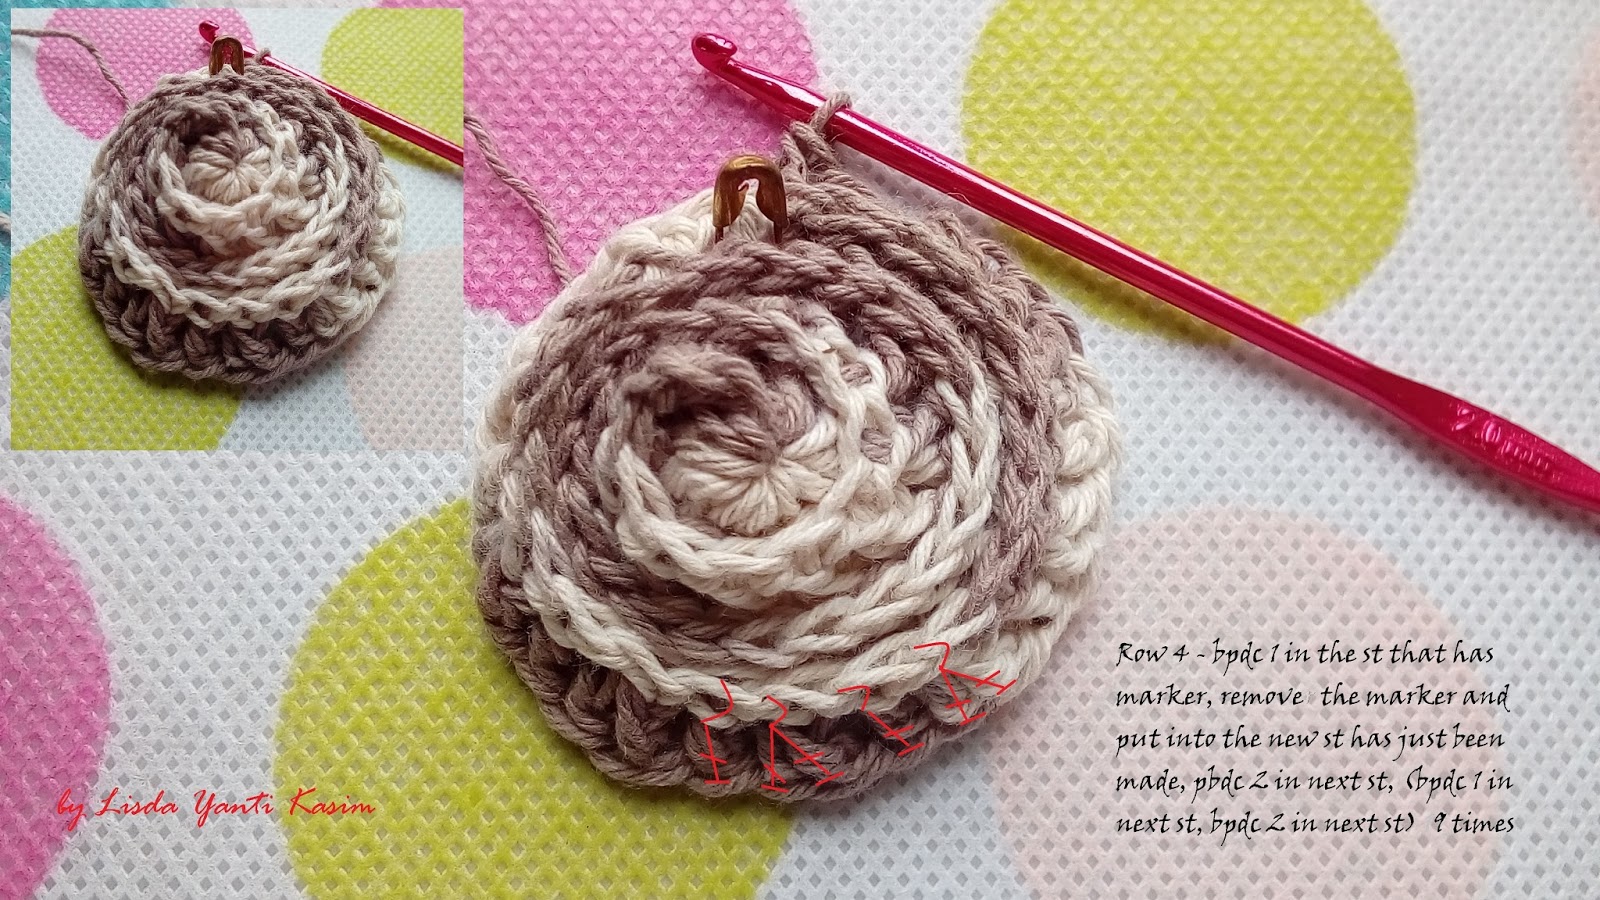
Note: I worked in continuous rounds for the base of petal
Lets get started....
First we make the flower, well actually there isn't any fixed rules which one first, follow the Hibiscus diagram pattern above.
When you complete up to row 7, will be look like below image
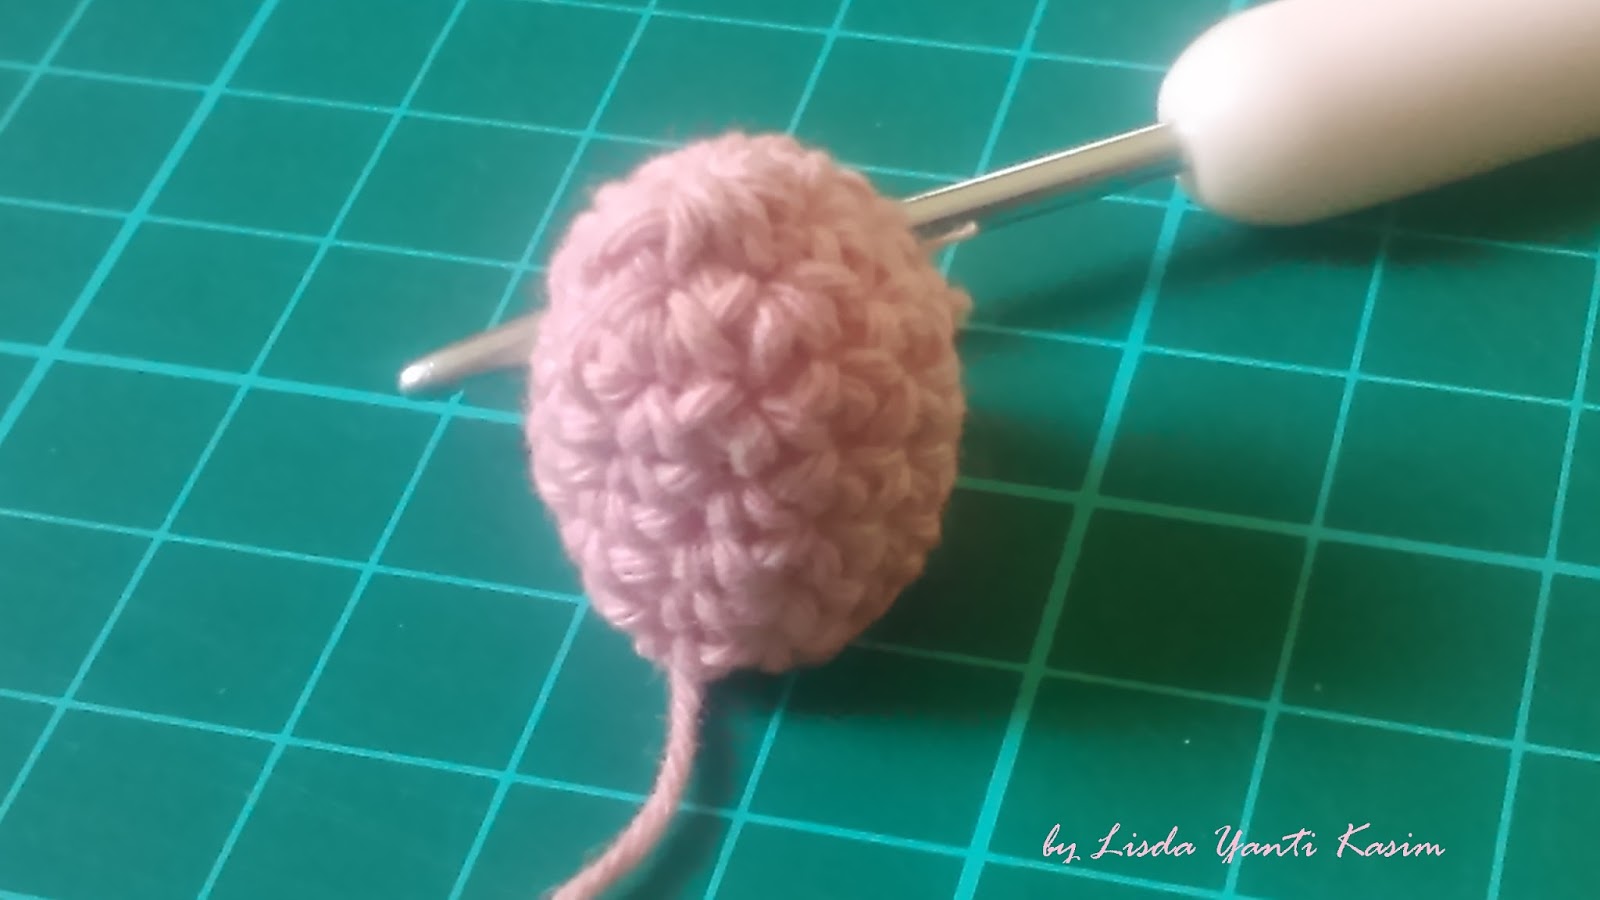
This is when you finish row 8

After you complete row 9, the whole petals, 80% the flower complete

Next you can make the calyx, pistil and leaf
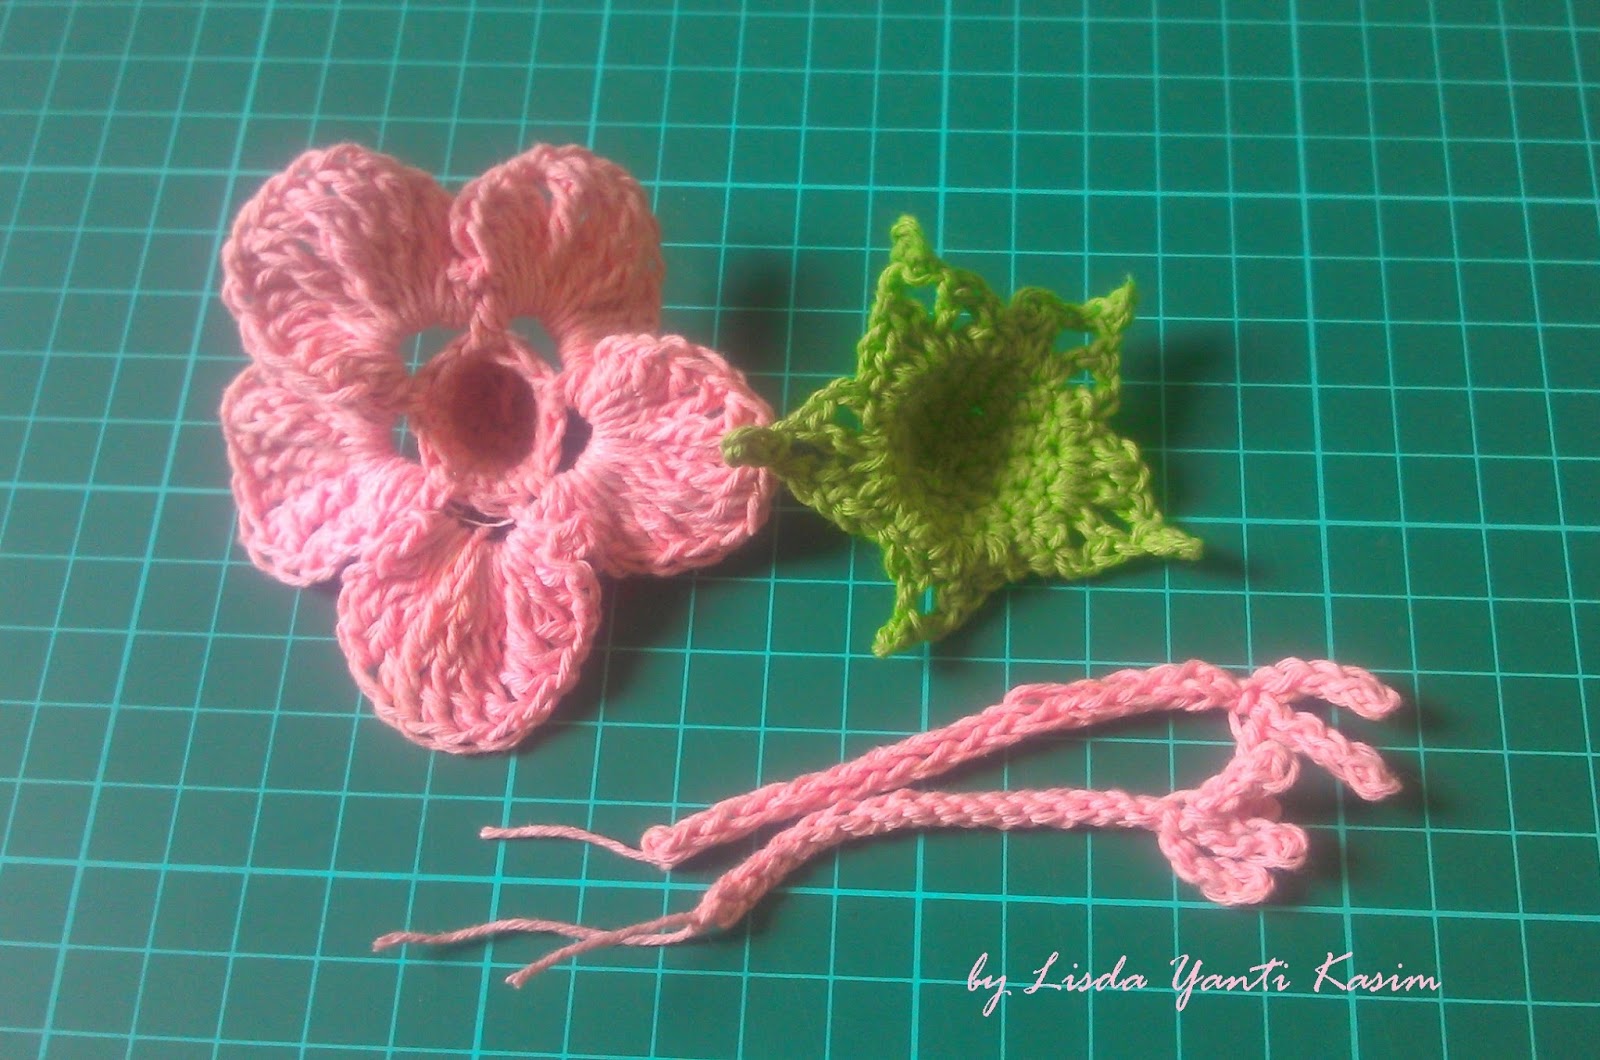
In below image, shows there are 2 pistils I made in 2 different way; 1 is as per diagram above and the other one I tried the technique to make robe that was shared by my friend, Iin Wibisono. She made the video how to make the crocheted robe. (sorry I don't have the link to her video to share)
After all part done, now can join all part.
You can use this Special Kembang Sepatu for anything, such as as brooch, or bad decoration, etc.
This time I made as it can be hanged anywhere.
First join the pistil inside the flower base, and then calyx at the bottom of flower, just on the center. And then make a simple robe, you can use the pistil pattern, which just make few amount of chains, in the middle part of robe make stalk (with the same technique) for the leaf, continue few chain and then join at the bottom of calyx, last sl st all chains down to the 1st ch.
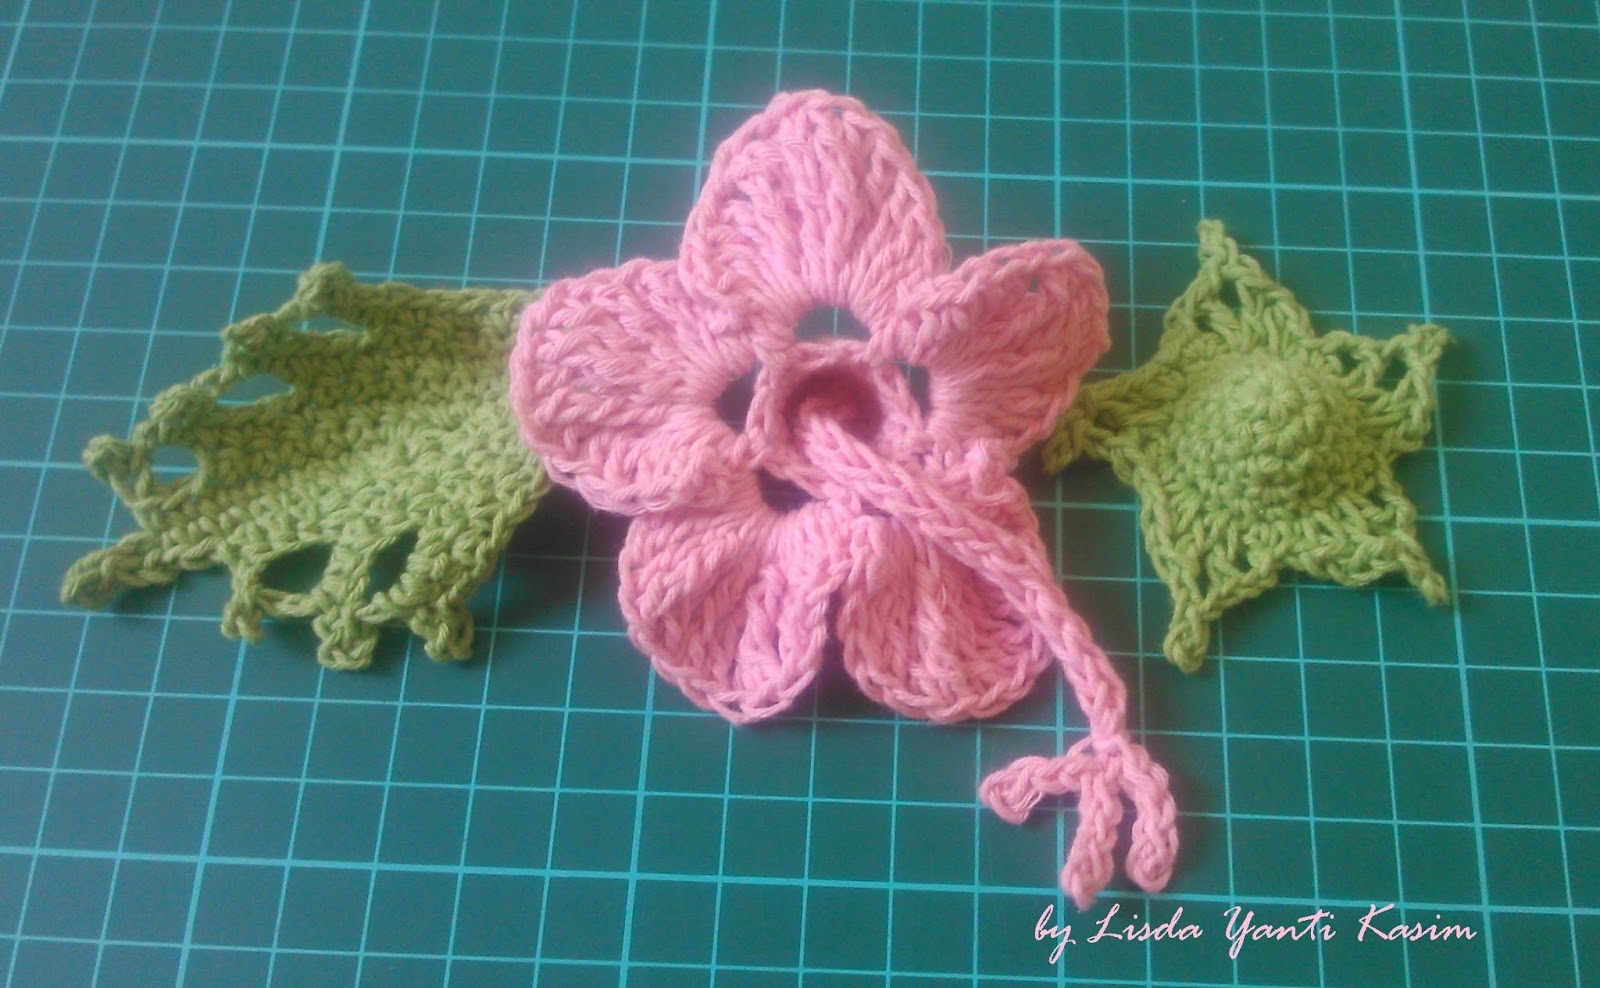
Here several images showing different angle:
Facing the flower
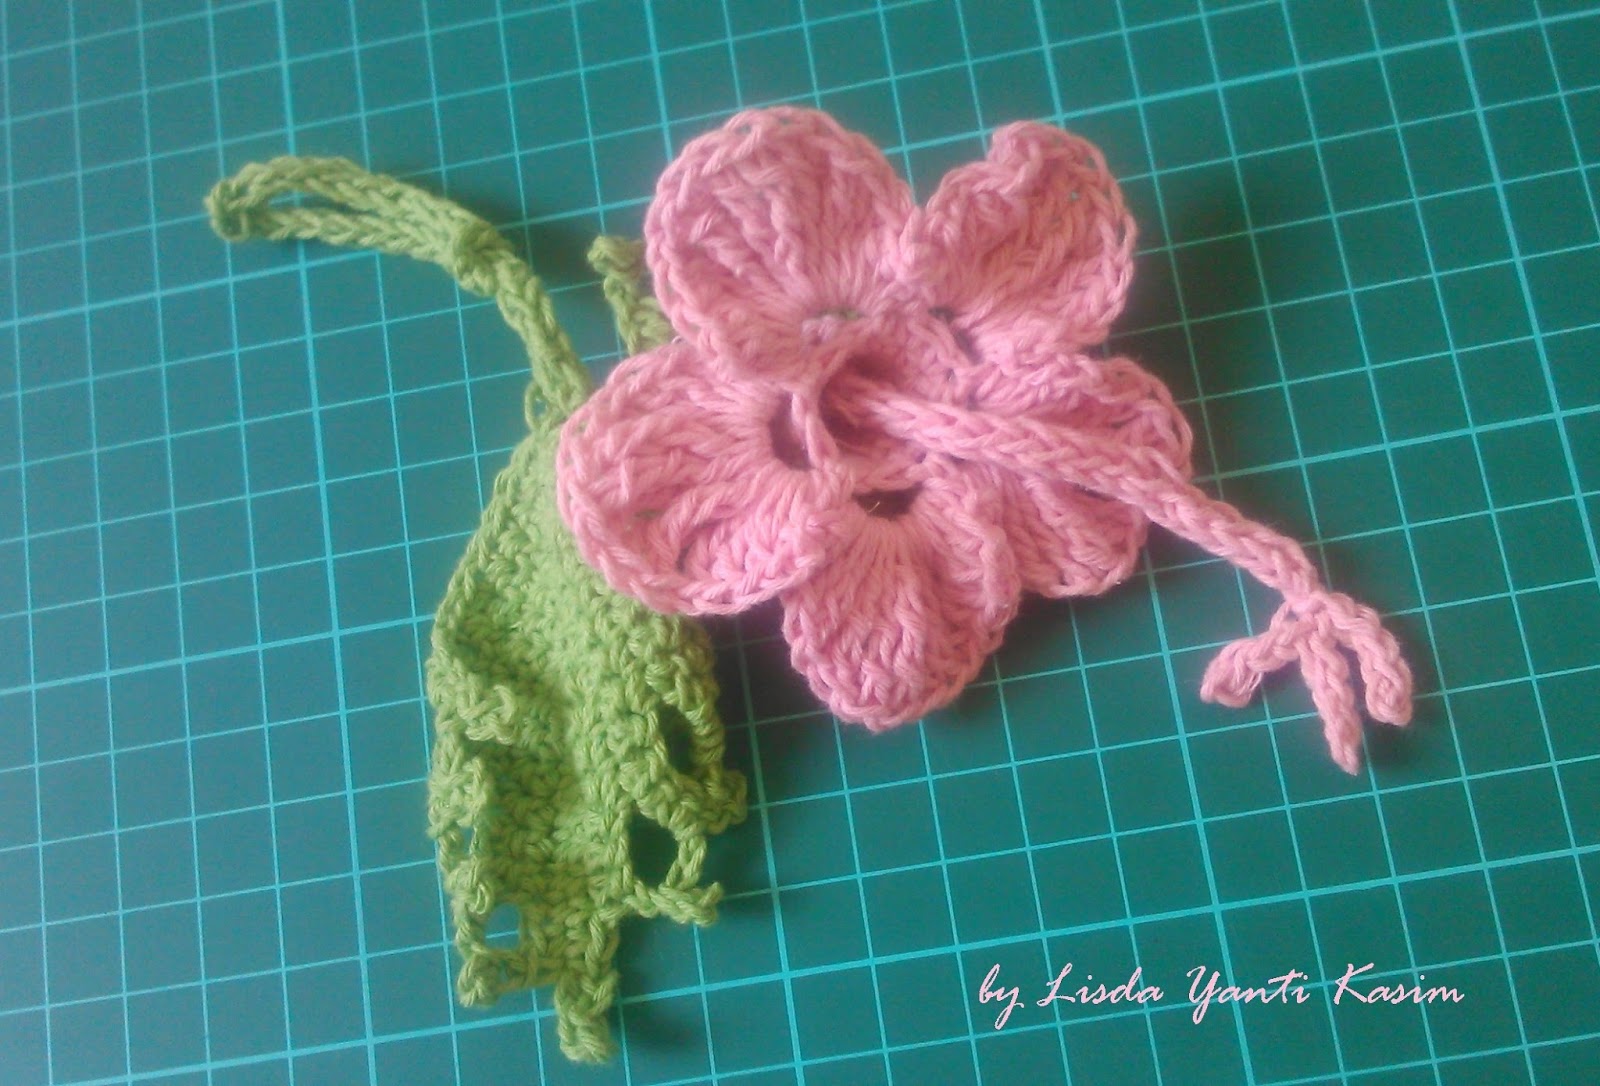
Showing from the bottom

The flower hanged


Isn't it beautiful????
#kembangsepatu ; #hibiscus ; #myowndesign ; #myownpattern ; #specialday ; #specialflower ; #august
Hope you like it .....
Happy crochet.....
Selamat Mencoba....
Let me know if you don't understand and please share if you succeed to make it.....